
作品档案

作品编号 / PP 2019-01
定制者/ Custom:Mr Guo
预定年份:2019
制作年份:2020
配件/Set-up
Tempel 黄杨
琴型/Model
Antonio Stradivari Forma PG
材料/Material
云杉/捷克枫木
油漆/ Varnish
松香油性漆
制琴笔记/Note
2020 8月作品完成 更新笔记
英文原文 Piotr Pielaszek / 中文翻译 Gino Yu
Hi, Gino! How are you doing? I hope everything is going well for you.Recently I’ve started work on the first instrument for you.I’m making photos from the whole process ok making, so I’ll send you them later. I thought you would like to see the., or even use them later on.
One more news: on this violin, label will say Poznań, Poland, but next one will have already Barcelona on it 😉
We decided with my girlfriend that we want a bit more sun, she found a job she likes there, so in 2 weeks I’m moving my workshop 🙂
Gino 你好,你最近怎么样?希望你一切安好。我已经开始制作第一支你定制的乐器。整个过程我都保留了完整的制作图片记录,我整理一下再发给你。我想你会需要它们的。
一个新闻:在这只小提琴上的标签上会标注:制作于 波兰 波兹南,但是下一支的标签将会变成 巴塞罗那。
我和我的女友决定去有更多阳光的地方生活,她再那里找到了一份工作,所以两个星期之后,我会把我的工作室搬到西班牙。
音板准备 / Material Preparing
In making an instrument, rigth after choosing the wood is of course cutting it and preparing for gluing. Many people tend to use electric wood planers. And most of the time, there is nothing wrong with that. But still, I prefer to do it by hand every time I start a new instrument. Does it take more time? Sure it does. If one is looking for working fast probably electric bandsaws and wood planers is way to go. But I don’t mind taking more time to do something. Its a bit more time I can use to think through the whole process.To evaluate wood structure, to figure out best placement. Let’s remember wood is an organic structure and its never perfectly even. With hand planes I can make micro adjustments that will allow me to align grains and fibers in the best possible manner. Additionally, working with a hand I can feel how hard, how dense this particular piece of wood is. It gives me more information that I can use in further steps, when creating the arching or when making thicknesses.
制作一支提琴,再选择完材料之后,就是要准备锯切和拼缝工作了。很多人使用电锯来完成拼缝工作,并无不妥,但是我更倾向于使用手工来完成。这难道不是要花费更多时间吗?诚然。如果你想节省时间的话,电动工具的确可以胜任。但是我并不介意花费一些时间。更多的时间意味着我有更多的时间思考制作过程,评判木材的材质,设计一个最佳的布置方案。但是我们一定要记住,木材是天然有机材料,它永远不存在“完美”。使用手工刨子使我能够随时精准的调整刨切的角度来适应木材的纤维走向和纹理。在此之上,使用手工可以让我随时感受“这一块木材”的硬度和密度,这将为我之后的工作提供大量的有用的信息,比如弧度和厚度的工作
轮廓线绘制 / Outline
After finishing the rib structure, I place it over prepared plates. I clamp it and draw the outline with sharp pencil. For marking the edge I use a metal ring that I made for this purpose. It is 2.5mm thick which is a good distance for an overhang for the edges. Corners I draw by hand but final shape is defined later with files and knifes.
完成侧板制作之后,我把它布置在准备好的音板上。我按照侧板的外轮廓线用细铅笔画出音板的实际外轮廓,使用一个金属圆环来完成这项工作。它的宽度是2.5毫米,这是我需要的侧板到琴边的尺寸设计。琴角的绘制我徒手完成,最终的形状,还是靠手刀和锉刀直接按灵感完成
琴边制作 / Edges
I got use to rounding edges with a knife. It sure does require more skills with handling the knife, but helps me to have an even rounding everywhere in the plate. Before cutting, I mark the distance of about 2/5 of a distance from the edge to the purfling. I use a small block with a knife that I made myself. In this case the knife should be dull, cause the point is not to cut but to only leave a mark. This mark will be indicate the top of the edge, and I’ll cut a chamfer with my knife until this point. I start with cutting top and bottom chamfers then I cut two more between them. Then I remove facets with a sharp scraper and finish everything up with sandpaper or dried horstail.
我习惯用手刀来完成琴边的修圆工作。这需要更多的技巧以及对于手刀的掌控,但是这能让琴边看起来更均衡更自然。切削之前,我已镶线距离琴边的宽的2/5为宽度画线,这个划线的工具是自己制作的。它的刀尖不能太尖锐,我们并不需要切削进去,而只是画线而已。这条线是我圆边的参考线,我会用刀直接切削到这条线为止。我从上下圆边圈开始制作,最后是中腰。用刮片抛光,最后用砂纸或者锉草打磨。
Bass Bar / 低音梁
When fitting bass bar its really important to have a really good fit, and that the pressure is evenly distributed. To have a good fit I use a chalk, that shows me where the wood is touching and where there is still a micro gap. Checking pressure is a bit more tricky. When fitting the bass bar you can feel its rolling more in some places than in the others and there is a need for small corrections. In this case, dividing bass bar in 14 parts and drawing lines helps. In example if on one side in the 8th section I see a small bump, I can turn a plate around and check exactly in the same place on the other side how a situation looks like. It allows me to be very precise in removing wood.
当制作低音梁的时候,它的吻合程度非常的重要,面板的压力要均匀分布。为了尽量吻合我会使用粉笔,这样我能直观的看到哪里有缝隙。而检测压力则需要一点小小的技巧。当把低音梁放在面板上尝试滚动的时候,你会感觉到某些位置比较顺畅,某些位置则略有卡顿。所以我把低音梁划分为14个区域。举例的话,如果我在8号区域看到有一些缝隙的话,我就可以把低音梁取下来在横截面上检查这个区域的平整情况。这使得我可以更精准的完成这项工作。
Neck / 琴颈
I always felt that I didn’t have enough of control when shaping the neck. Going right away to rounding was not the best idea cause it was difficult to end up with nice, comfortable parallel neck. It changed few years ago when I was working with Marcus Klimke in France. He showed me his technic and it changed everything. Following several steps, making chamfers, using template, it helps me a lot to control what I do.
我经常感觉到我对琴颈形状的掌控还不全面。仅仅是圆滑和平行是不够的。我在法国和Marcus学习的时候,才逐渐完善了我的手法。他向我展示了他制作琴颈的技巧,这使得我的理解有了翻天覆地的变化。制作倒边,运用弧形卡尺,使得我对于琴颈的形状能有更好的掌控
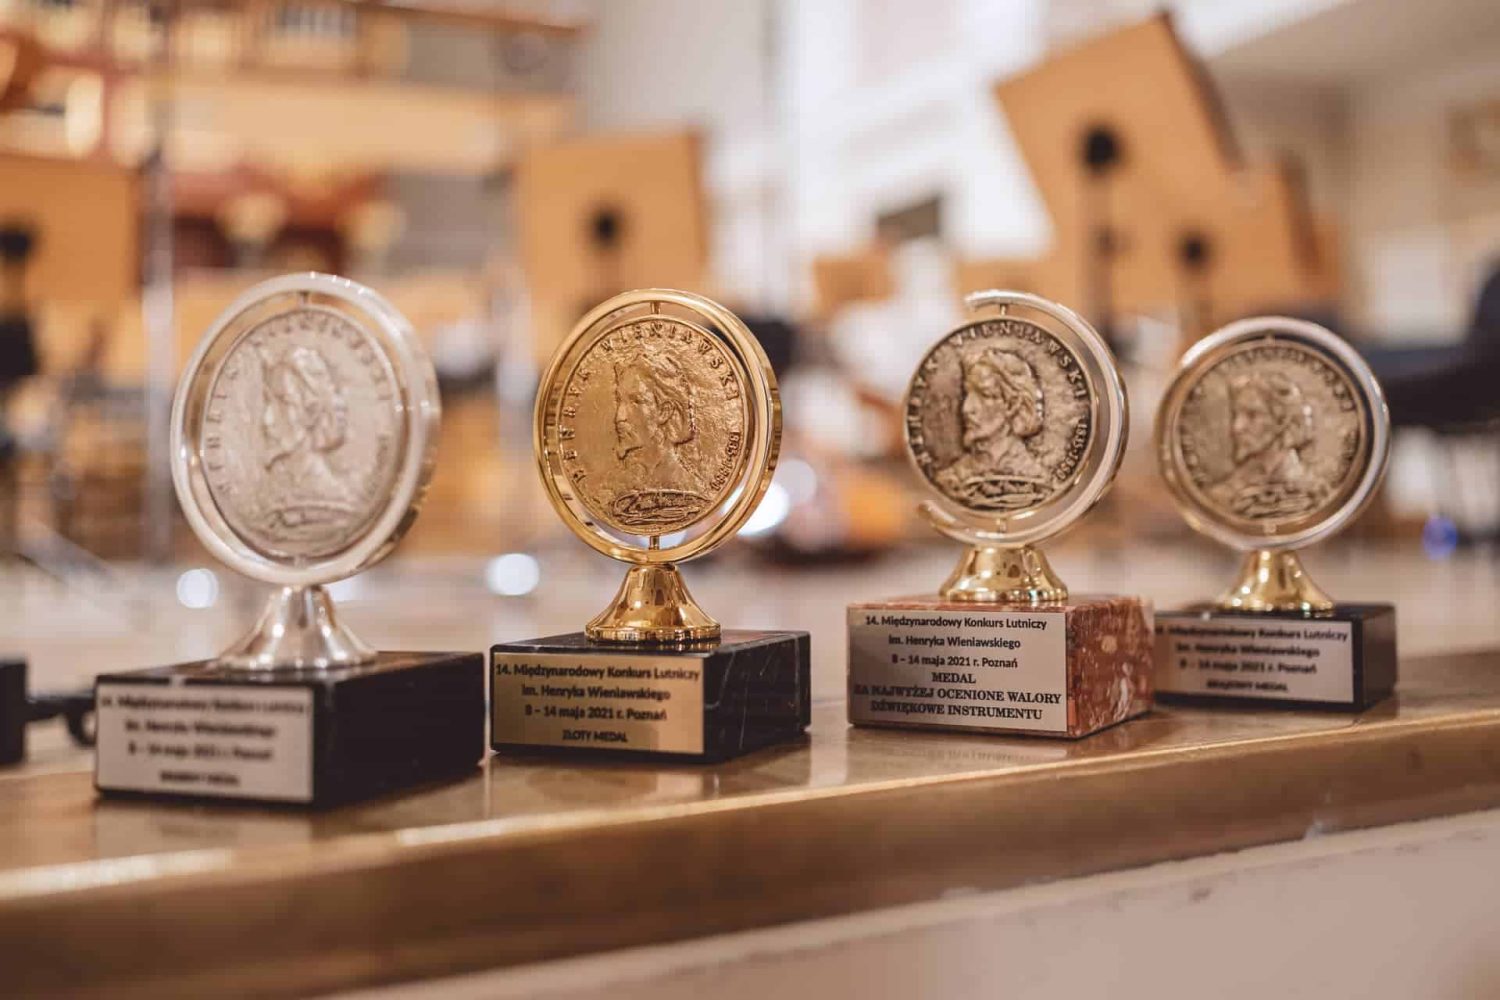
Recording / 作品录音
维尼亚夫斯基比赛现场 颁奖音乐会 银奖作品“Selva”
维尼亚夫斯基比赛现场 银奖作品 “Selva”决赛盲评部分 小型音乐厅 奏鸣曲
维尼亚夫斯基制琴赛 银奖作品 “Selva”决赛盲评部分 大型音乐厅 协奏曲部分
浏览人数: 8,753